Draw your first sprite
This walkthrough takes about five minutes and covers the core loop: create, draw, colour, animate, export.
1. Create a sprite#
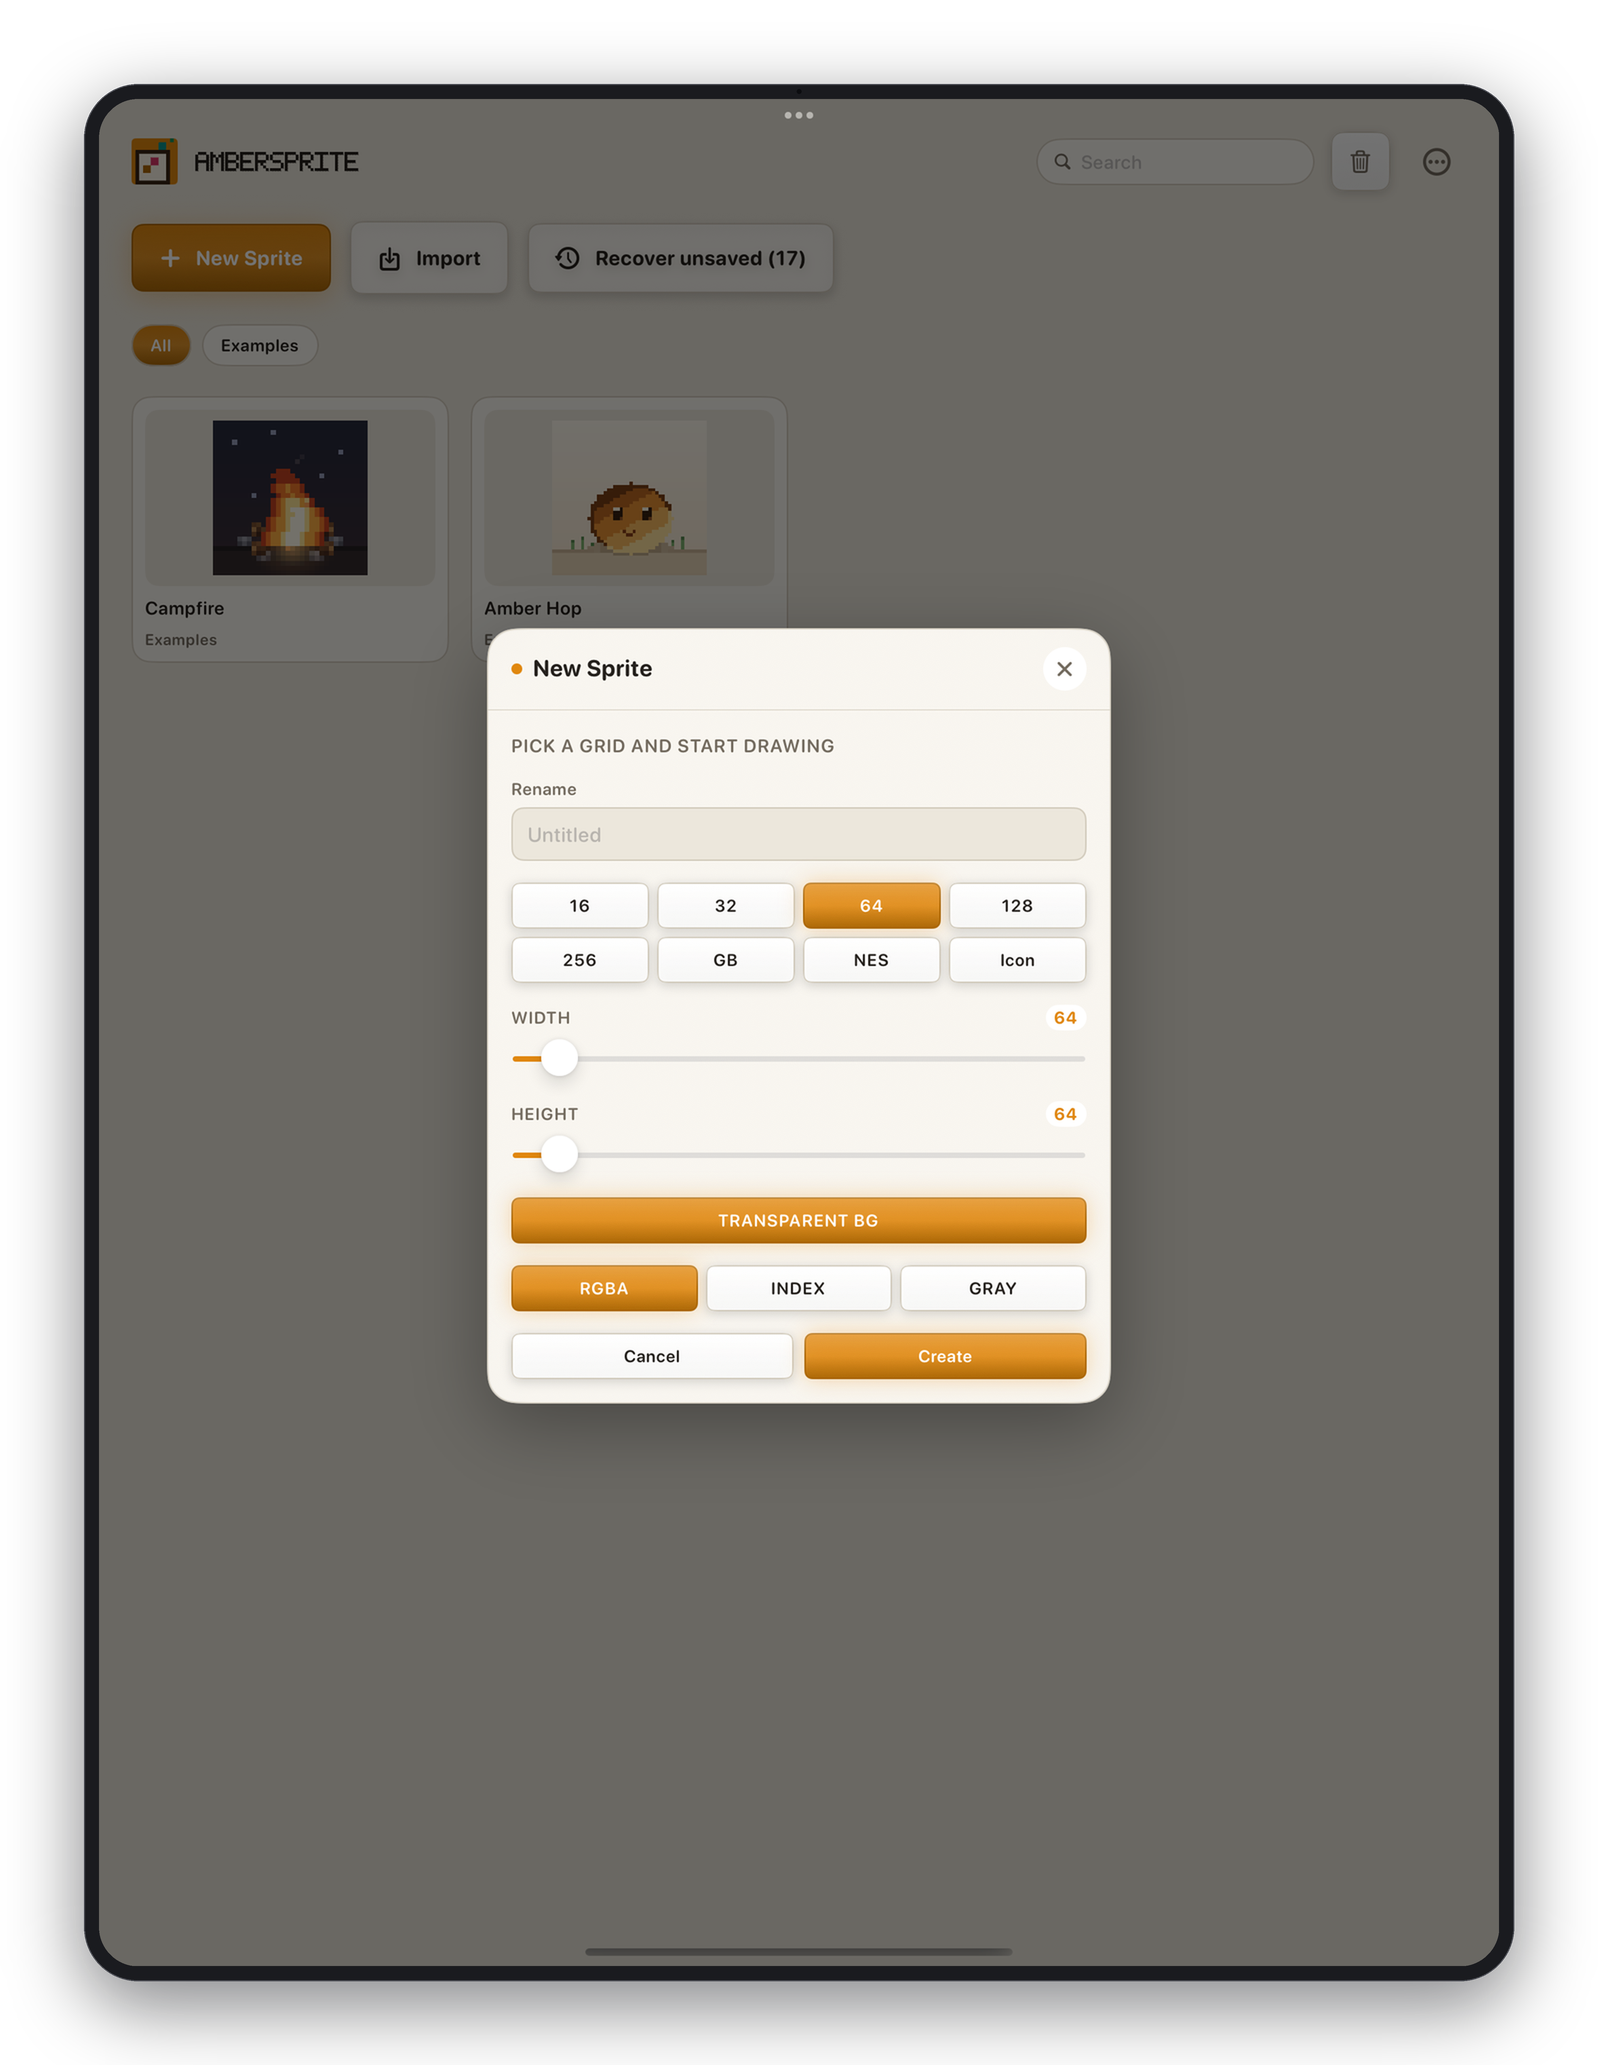
- Open Ambersprite. You land on the gallery.
- Tap New. Pick a size — 32 × 32 is a good first sprite — and tap Create.
- The editor opens with one transparent layer on one frame.
2. Draw#
The Pencil tool is selected by default. Pick a colour by tapping a swatch in the Colour panel, then draw on the canvas.
- **One finger or the Pencil*draws.
- **Two fingers*pan and pinch to zoom.
- **Two-finger tap*undoes; **three-finger tap*redoes.
Use the −/+ buttons or the size control in the context bar to change the brush size. Keep Pixel-perfect on (in the context bar) for clean single-pixel lines with no doubled corners.
3. Colour and shade#
Tap the large foreground swatch to open the wheel. Drag on the wheel for hue and saturation, and use the brightness bar below it for value. Tap + Add current colour to save it to the palette.
To shade, pick a darker version of your base colour and paint the shadow side, or switch the ink mode to Shading and set a light direction — see Brush size, ink & dynamics.
4. Add a second frame#
Open the timeline (bottom of the screen). Tap the + button to duplicate the current frame, then nudge your artwork on the new frame. Tap ▶ to play the two-frame loop.
For real animation techniques — onion skin, tags, timing — see the Animation section.
5. Export#
Tap the share / export button in the top bar, or open Export… for the full panel.
- For a still image, choose **PNG*— it exports transparent at native pixel size, ready for a game engine.
- For an animation, choose GIF, APNG, or a sprite sheet with JSON.
See Exporting your work for every option.
You don't need to save manually to be safe — Ambersprite autosaves a recovery snapshot continuously. To keep a named file, use File ▸ Save and pick a location (On My iPad or iCloud Drive).