Tilemap layers
A tilemap layer is painted with tiles from a tileset instead of loose pixels. Change a tile in the set and every place it appears updates — the way game maps are built.
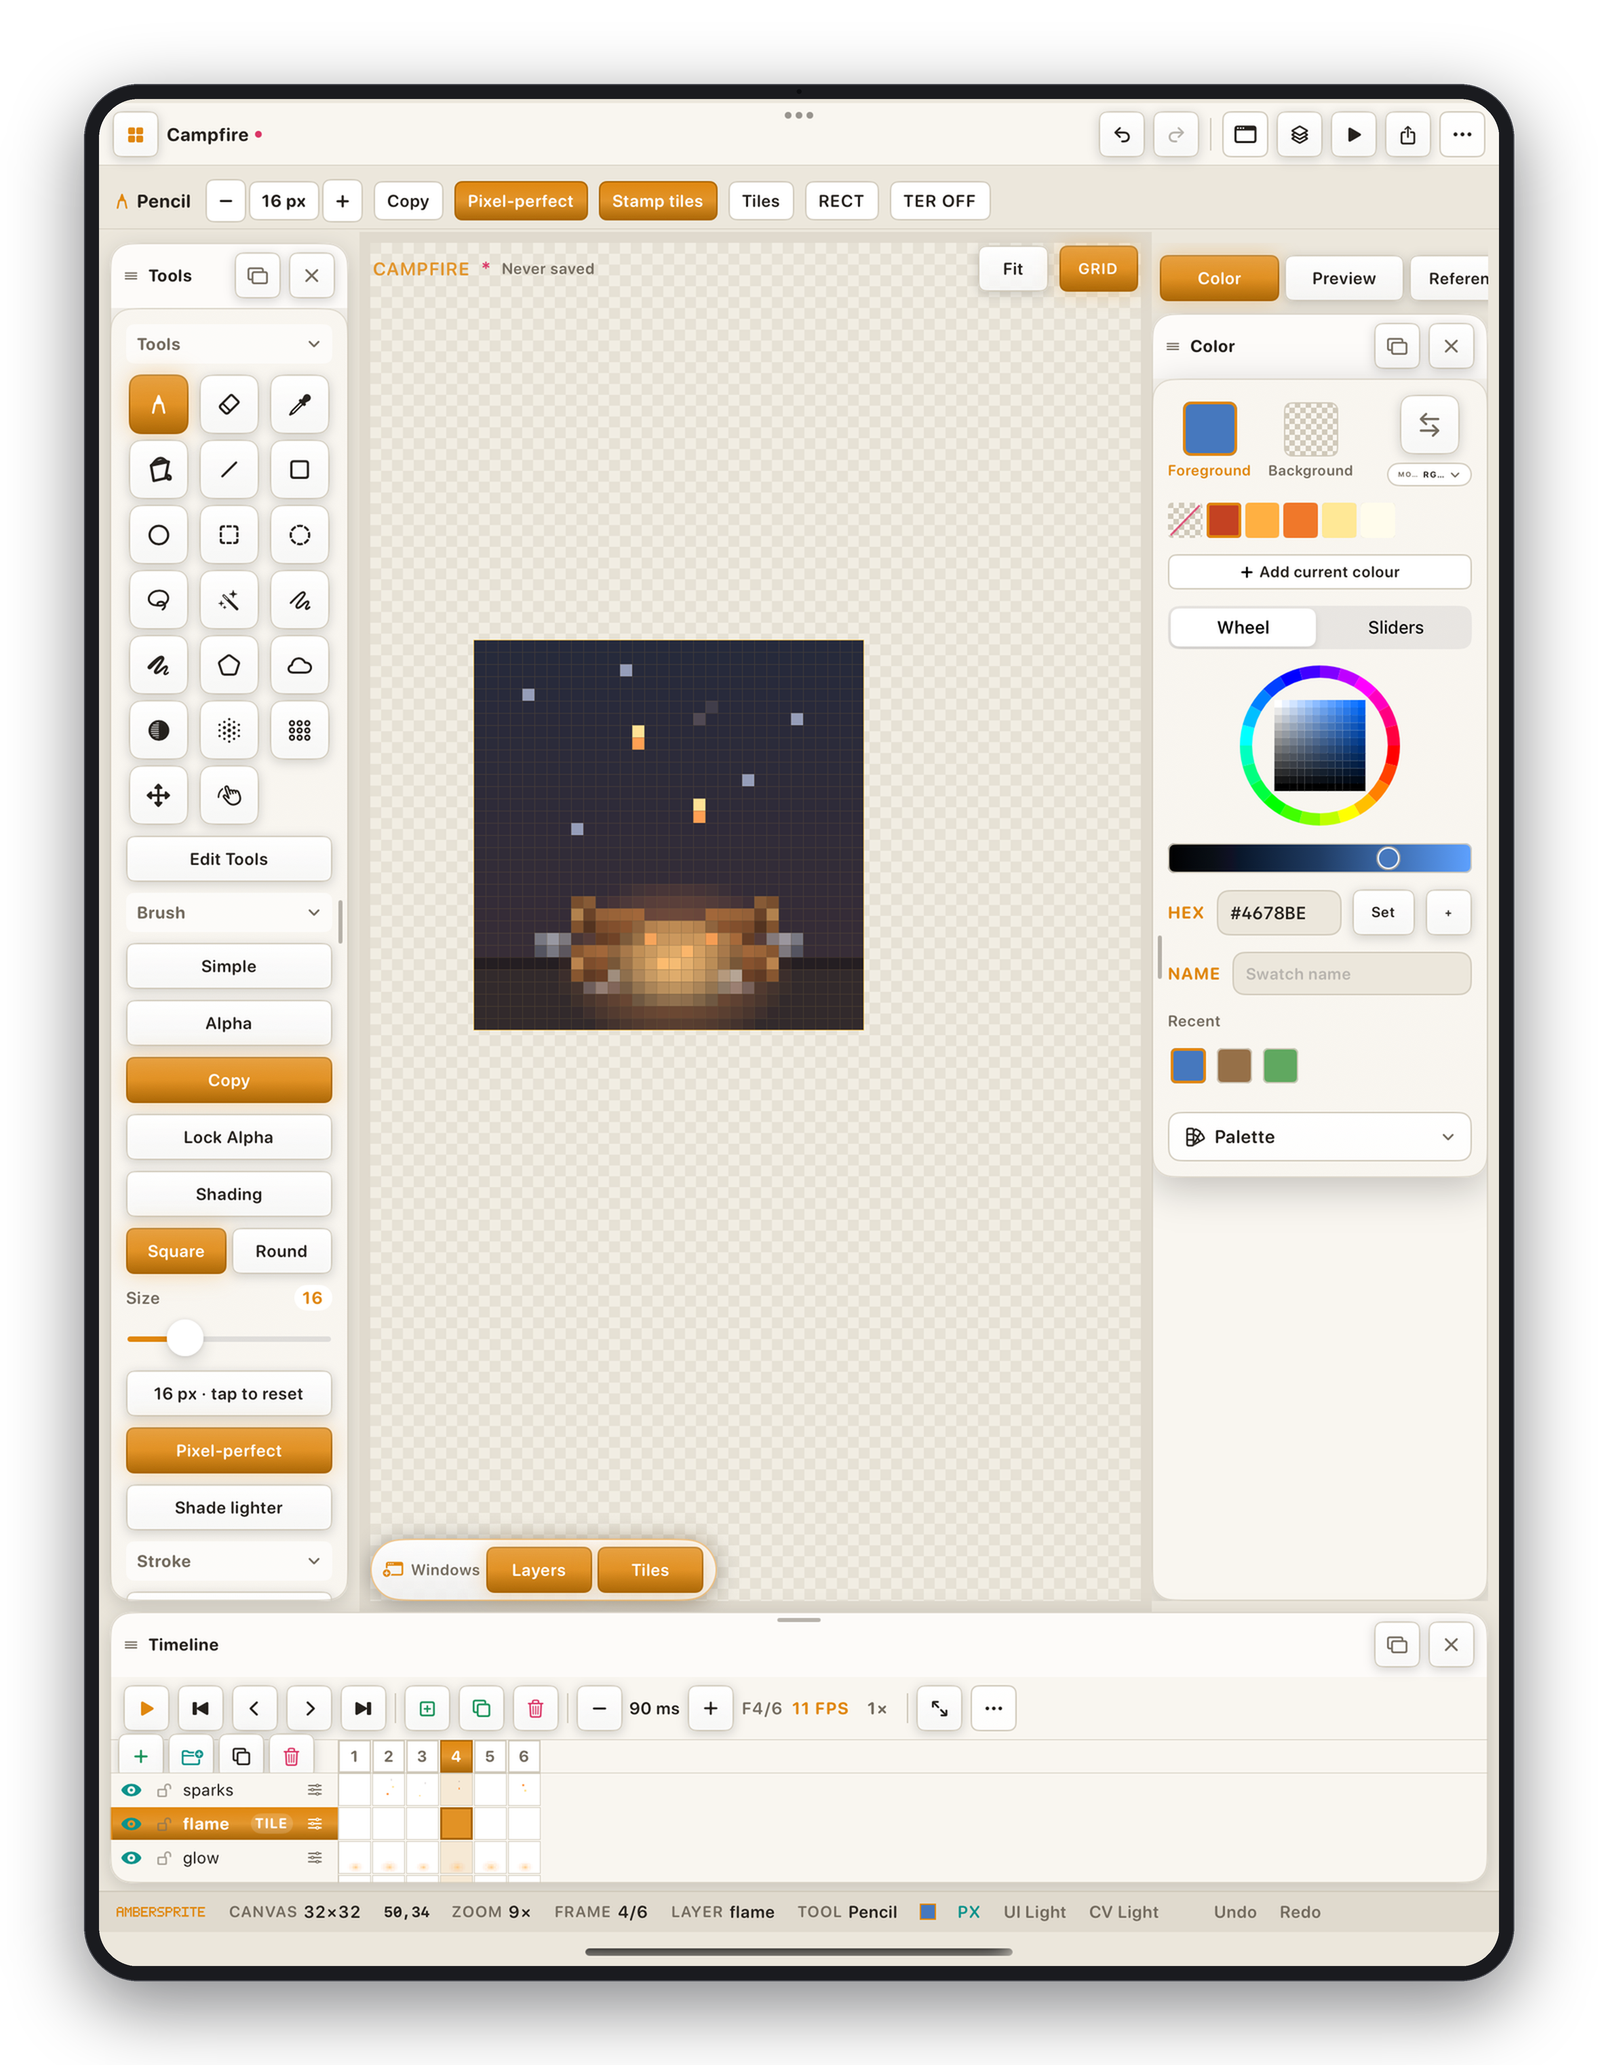
Create a tilemap#
From existing art (recommended):
- Draw your tile art on a normal layer — a grid of 16 × 16 (or 8 / 32) cells.
- Open the layer properties and tap To tilemap.
- Ambersprite slices the layer into a tileset and turns the layer into a tilemap.
From scratch: Layer ▸ Tilemap creates an empty tilemap layer and tileset.
Painting tiles#
With a tilemap layer active, the context bar shows Stamp tiles / Edit tile art:
- **Stamp tiles*— pick a tile from the **Tiles*panel and stamp it on the canvas with the pencil. The bucket floods with the selected tile.
- **Edit tile art*— draw directly into the tile under the cursor; the change propagates to every instance.
Grid types#
Set the tile grid from the tool rail or the Tileset editor:
| Grid | Guide | Use |
|---|---|---|
| Rectangular | GRID PX | Top-down and platformer maps. |
| Isometric | GRID ISO | 2.5D diamond maps. |
| Hexagonal | GRID HEX | Hex strategy / board maps. |
Wrap and seam#
- **Tile X / Tile Y*— wrap the tilemap so the last column/row connects to the first. Great for repeating backgrounds.
- **Snap to Tiles*— the pencil and shapes snap to tile boundaries.
- **Seam*— show the tile seams while you edit so you can keep edges consistent.
Tile properties#
Open the Tileset editor to set a tile's name, tags, collision shape, role, animation frames, and custom key/value properties. These are written into the Tiled (TMX/TSX) export.
Auto-tiling and terrain are on their own page — Auto-tiling & terrain.