Custom brushes & the Brush Library
A custom brush is a small pixel stamp you paint with instead of a plain square or circle — a leaf, a bolt, a texture chunk, a piece of dithering.
Make a brush from your art#
- Draw the shape you want as a brush on any layer.
- Select it with a selection tool.
- Edit ▸ Capture brush (or Brush From Selection). The selected pixels become the active brush tip.
Now paint — the pencil stamps that shape. Adjust it in the Tool rail ▸ Tip section: flip, rotate, make it directional, tile it. Clear Brush returns to the default round/square tip.
Recolour vs. stamp#
- **Stamp*— the brush paints its own captured colours.
- **Recolor*— the brush shape is painted in the current foreground colour (the tip becomes a mask). Toggle this in the Tip section when a custom stamp is active.
The Brush Library#
Sprite ▸ Brush Library (or the Brush Library button in the Tip section) opens the manager.
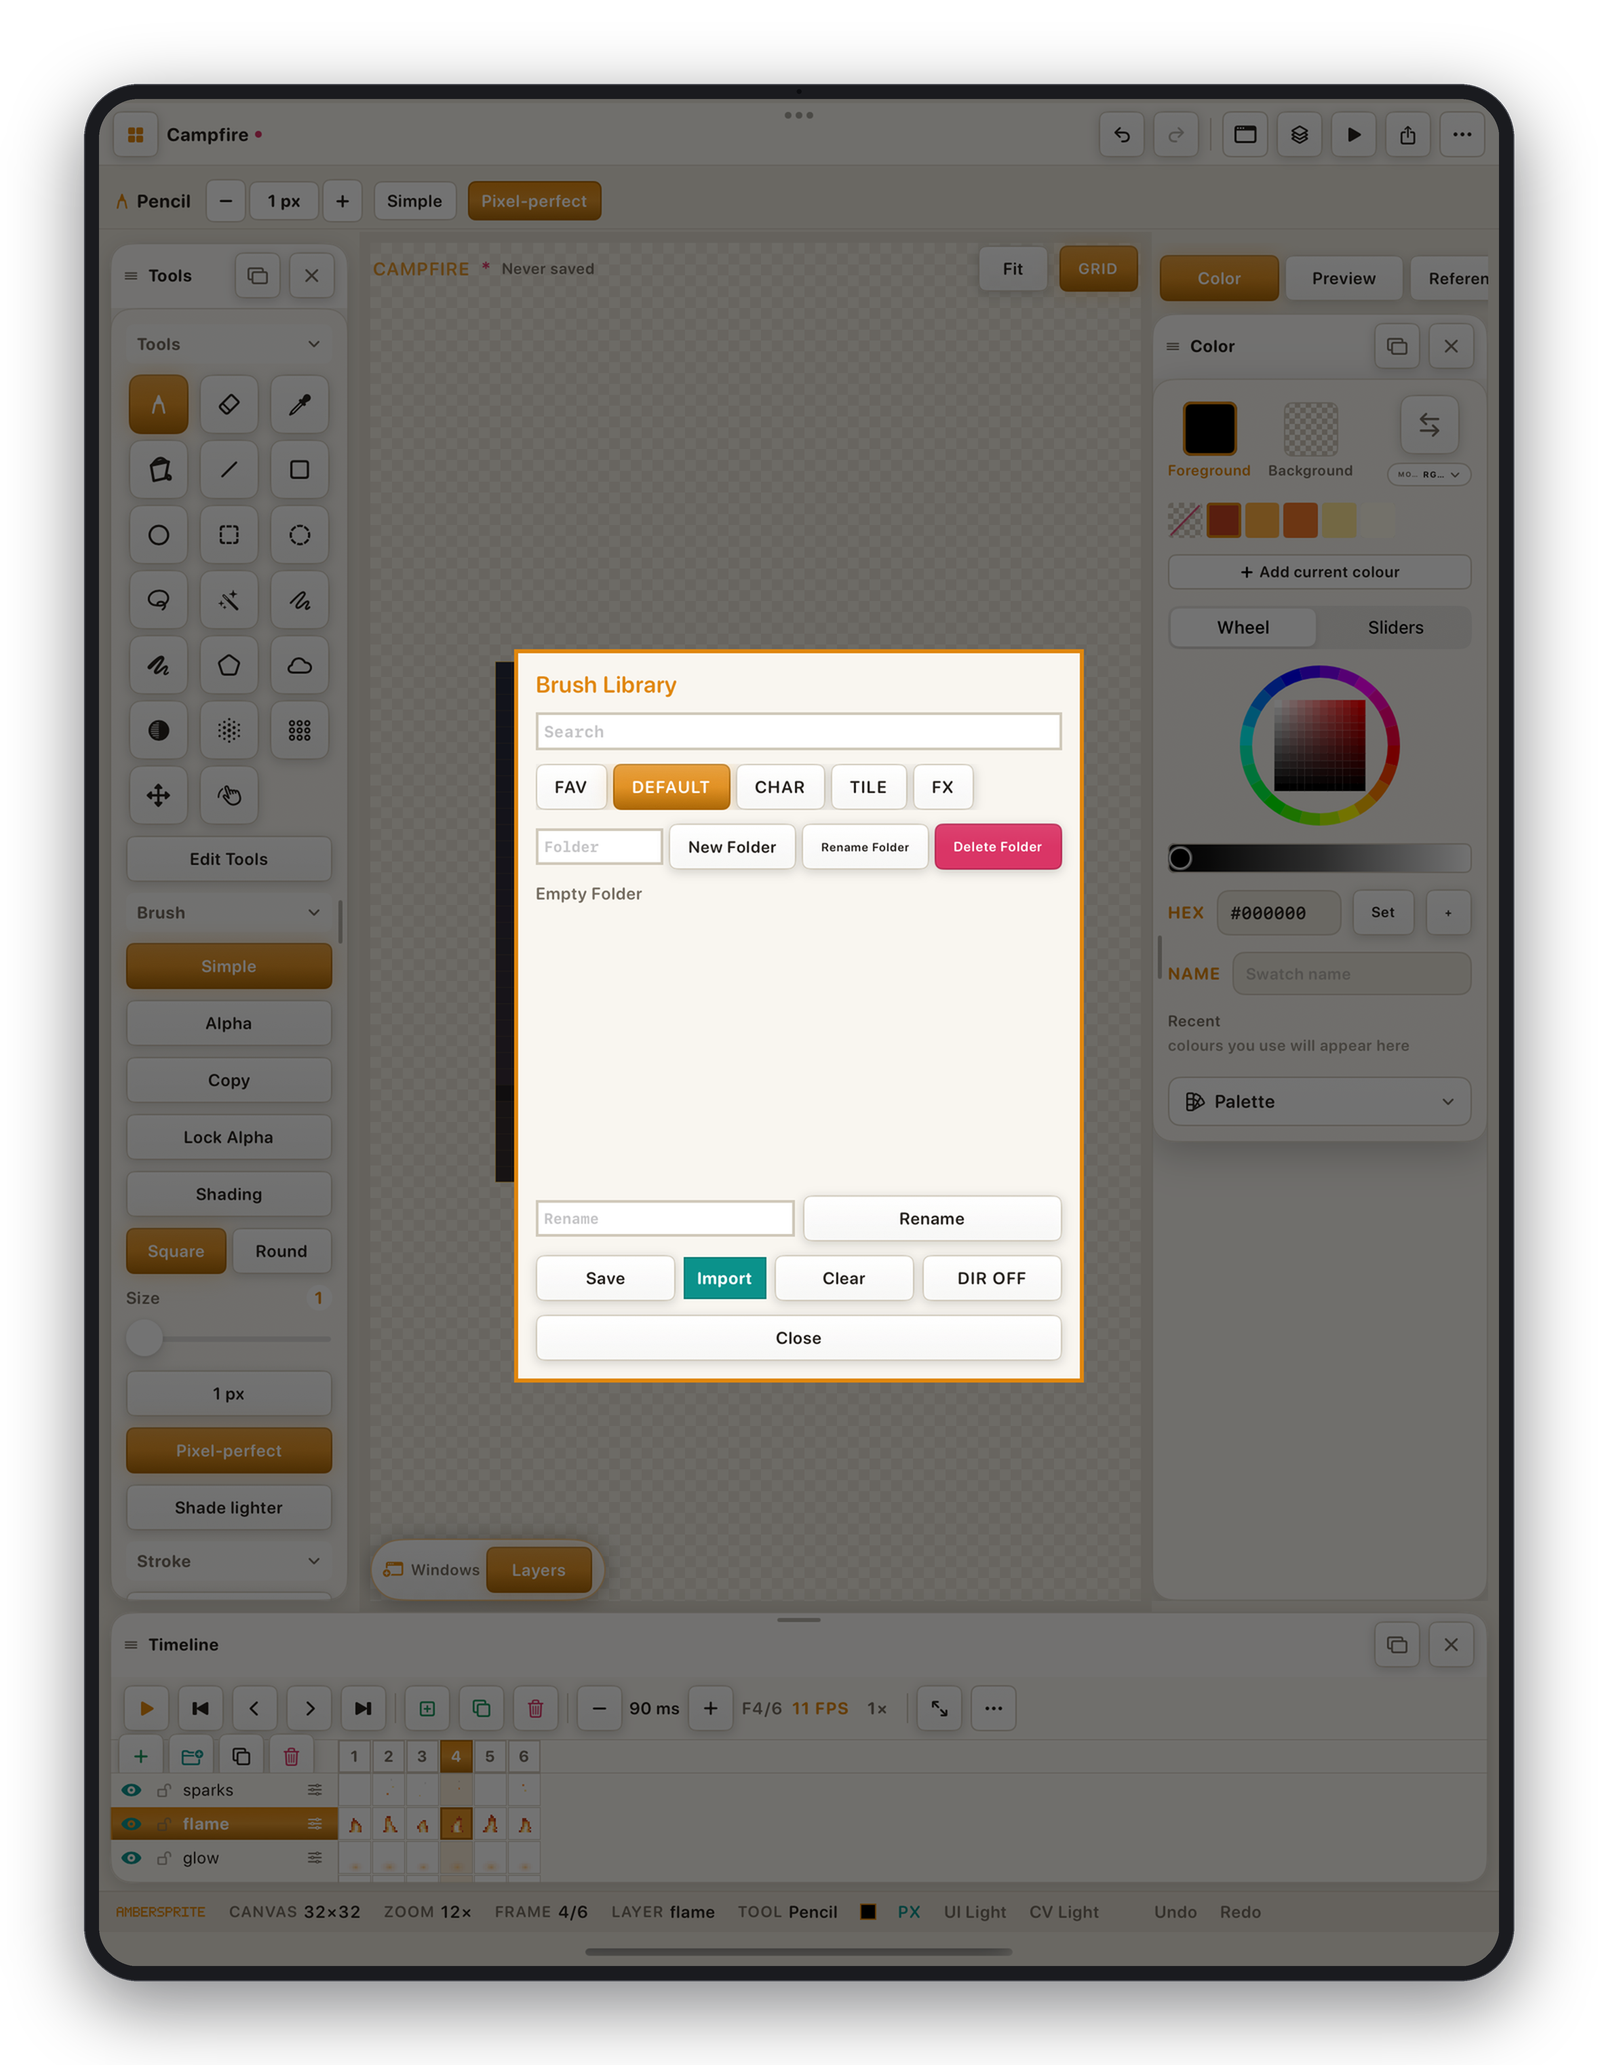
Here you can:
- **Save*the current brush (shape + settings) as a reusable named brush.
- Organise brushes into folders; rename, duplicate, favourite or delete them.
- **Import images*from Photos (up to 16 at once) as stamp brushes — each becomes a monochrome or full-colour tip.
- **Search*by name.
Saved brushes travel with the app, not the document, so they're available in every sprite.
Pattern brushes#
To paint a repeating pattern:
- Capture a small tile as a brush.
- In the Tip section turn on Brush tiling and Align: global.
- Paint — the tile repeats seamlessly, locked to the canvas grid.
Edit ▸ Pattern From Selection captures the current selection as the dither/fill pattern used by the bucket and gradient tools.